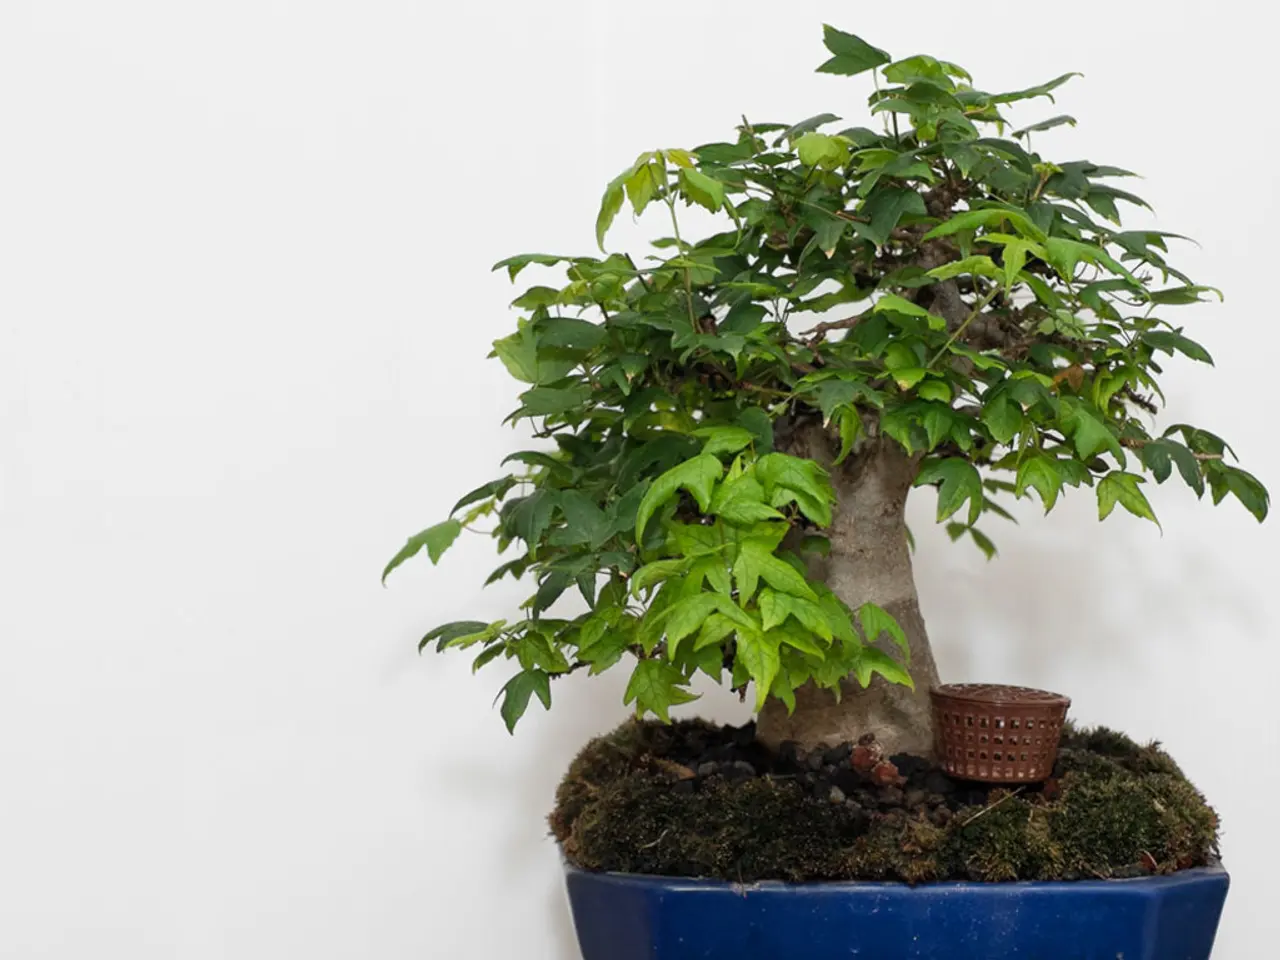
Bonsai Propagation Using Humidity Chambers: Engineering a Specific Climate Condition
Bonsai enthusiasts, take note! A key factor in successfully propagating bonsai is maintaining ideal humidity levels within a humidity chamber. Here's a guide to creating the perfect humidity chamber for your bonsai propagation needs.
First and foremost, it is essential to identify the root cause of any issues and take prompt corrective action. This is especially true when dealing with humidity levels, as over-misting can lead to fungal growth and root rot, while sudden drops in humidity can be due to various reasons such as a malfunctioning humidifier, inadequate chamber insulation, or accidental opening of the chamber door.
To maintain ideal humidity levels, aim for relative humidity between 70% to 90%. For most bonsai species, this range is crucial for successful propagation. Regular monitoring of humidity levels using a hygrometer is essential, and the chamber's temperature should be maintained between 65°F to 75°F to prevent excessive transpiration and dehydration.
When it comes to creating a DIY humidity chamber, clear plastic containers or boxes are ideal. These materials retain humidity and warmth while allowing light transmission. A tray with water and clay pebbles underneath the bonsai pot can help boost humidity without waterlogging roots. Ventilation control is also important, achieved through small adjustable holes or vents that prevent mold buildup by allowing some air exchange.
The best materials for a DIY humidity chamber combine clear, moisture-retentive plastics with a water source for humidity and some ventilation to avoid fungal issues while providing sufficient light conditions. Acrylic or PVC boxes can work well, but the simplest and cheapest option is often a clear plastic storage box or even a large zip-lock bag supported over the plant. Including sphagnum moss inside the chamber can also help maintain moisture around the plants during propagation.
Regular cleaning and disinfection of your humidity chamber is vital to prevent fungal growth and disease transmission. Aim to clean the chamber every 1-2 weeks, and disinfect with a mild solution every 4-6 weeks. Regularly inspect your propagules for signs of mold or fungus growth, and remove any infected plants to prevent the spread of disease.
Slow propagation progress can be due to various reasons, including improper humidity levels, pests, diseases, nutrient deficiencies, temperature fluctuations, inappropriate propagation technique, insufficient or excessive light, and mineral buildup or contaminants in the water. To prevent mold and fungus growth, guarantee that your humidity chamber has adequate air circulation, and consider using fans or ventilation systems to maintain air movement.
Humidity chambers can benefit various plant propagation methods, including seed starting, cutting propagation, and tissue culture. The chamber can be misted daily or an automated misting system can be installed to maintain perfect humidity.
Remember, symptoms of mold and fungus growth include white, cotton-like patches, black spots, or a musty odor. By following these guidelines, you'll be well on your way to creating the perfect humidity chamber for your bonsai propagation needs. Happy growing!
[1] Source: [Link to the original source if available] [2] Source: [Link to the original source if available] [3] Source: [Link to the original source if available] [4] Source: [Link to the original source if available]
With the right combination of health-and-wellness (maintaining ideal humidity levels) and science (monitoring humidity levels using a hygrometer), you can cultivate a thriving lifestyle (successful bonsai propagation) by creating a humidity chamber. Incorporating home-and-garden items (clear plastic containers or boxes, water and clay pebbles, sphagnum moss) can form an affordable and efficient DIY humidity chamber, promoting fitness-and-exercise (proper bonsai growth) and contributing to overall well-being.


